Starting a pickleball court project today means tapping into one of the fastest-growing sports movements in Indonesia. While traditional sports like badminton and soccer still dominate public interest, pickleball has quickly carved out its own space.
Introduced in 2019 by Susilo (Secretary General of Indonesia’s Pickleball Founders Association), the sport has experienced rapid adoption. In just 5 years, the player base has grown to more than 8.000 people nationwide.
This surge presents a compelling opportunity for sports clubs, community centers, and companies aiming to create engaging, future-ready facilities. If you’re considering taking this advantage of this market opportunity, keep reading to explore the processes.
Table of Contents
Pickleball Court Project Guide: What Should You Consider?

To ensure your project delivers long-term value and optimal playability, you need to focus on several key considerations from the outset, including:
1. Choosing the Right Space and Location
Selecting the right site is more than just finding an empty area. You need a surface that is already flat or can be leveled efficiently to avoid unnecessary construction costs. While the official playing area measures approximately 6.1 × 13.4 meters, you should allocate extra space around it to ensure safe movement and better gameplay flow.
For most developments, around 9.1 × 18.3 meters works well. But if you are targeting higher-level play or standalone courts, expanding to approximately 10.4 × 19.5 meters provides a more professional layout.
Beyond dimensions, environmental conditions deserve attention. Courts exposed to intense sunlight throughout the day can reduce player comfort, while open areas without wind barriers may affect ball control.
2. Selecting the Best Surface Material
Material selection plays a key role in how durable and comfortable your court will be. Before surface installation, there are two main base layers used: concrete and asphalt.
For the top layer, flooring options for pickleball court such as flexipave are popular due to their smooth finish and shock-absorbing qualities, which improve playing comfort. If you’re looking for something more flexible, modular interlocking tiles can also be a practical choice, because they’re easy to install, clean, and replace when needed.
3. Budget
Budget planning is a critical part of ensuring your project runs smoothly from start to finish. The total investment for a pickleball court can vary widely, typically ranging from $4.500 to $12.500 per court (approximately IDR 75 million to IDR 200 million), depending on the scope, location, and specifications.
Instead of focusing only on cutting costs, it’s more strategic to think in terms of long-term value. Because, a well-executed pickleball court project will minimize maintenance, extend usability, and provide a better experience for players over time.
Professional Pickleball Court Project Workflow: Step-by-Step Approach
To bring your pickleball court investment to life efficiently, you need to know how the structured workflow of the project:
1. Prepare the Site
Every successful pickleball court project begins with thorough site preparation. Start by clearing the area, such as removing debris, rocks, and vegetation that could disrupt construction.
Once the space is clean, focus on creating a flat and even surface. Even slight unevenness can affect ball bounce and player movement, so precision matters here.
2. Grading
After initial preparation, the next step is grading. This step involves shaping the land to direct water away from the court area, preventing pooling or surface damage. Proper grading is especially important in outdoor pickleball construction, where weather conditions can quickly impact surface quality.
Once grading is complete, the soil must be compacted to create a stable foundation. Compaction reduces the risk of shifting or settling over time, ensuring that the court remains level and structurally sound.
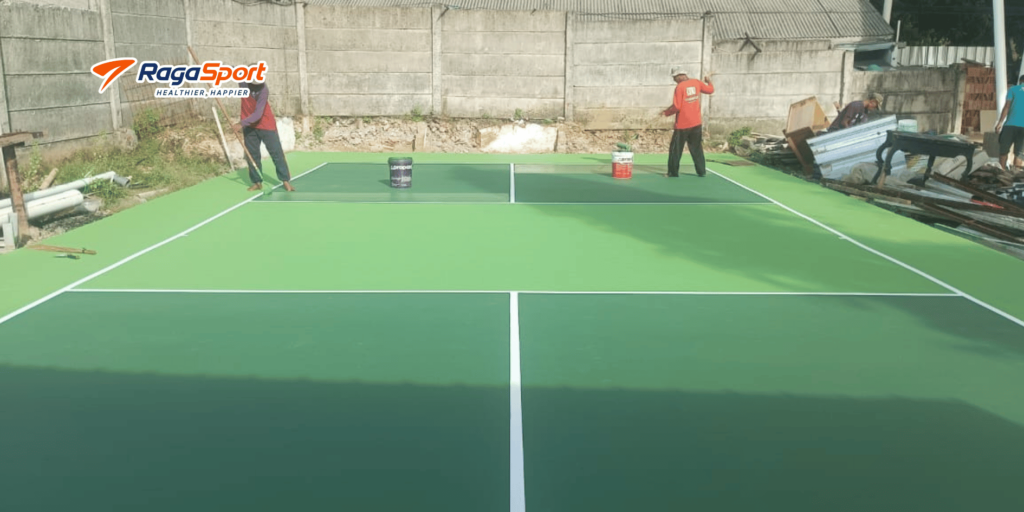
3. Installing Court Surface Material
With a solid foundation in place, it’s time to install the main surface. Typically, this involves pouring concrete or laying asphalt, making sure the finish is smooth and evenly distributed. Any imperfections at this stage will carry through to the final playing surface.
If you choose a flexipave system, the process continues with layering specialized coatings over the base. These layers are applied gradually to create a uniform, slightly cushioned surface that improves comfort and playability.
Alternatively, if you opt for modular tiles, installation becomes more straightforward. The tiles are interlocked over the base following manufacturer guidelines, allowing for faster setup and easier maintenance. This flexibility makes tile systems appealing for facilities that expect future upgrades or adjustments in their pickleball court project.
4. Fencing
If you want a pickleball court with a multi-purpose setup, it’s important to have fencing. It helps keep the ball within the playing area while also providing a layer of safety for players and spectators.
Among the available options, wire fencing is the most commonly used because it maintains visibility and allows light to pass through without obstruction. You may also want to consider choosing materials with rust-resistant coatings to extend the lifespan of your fencing and reduce maintenance needs.
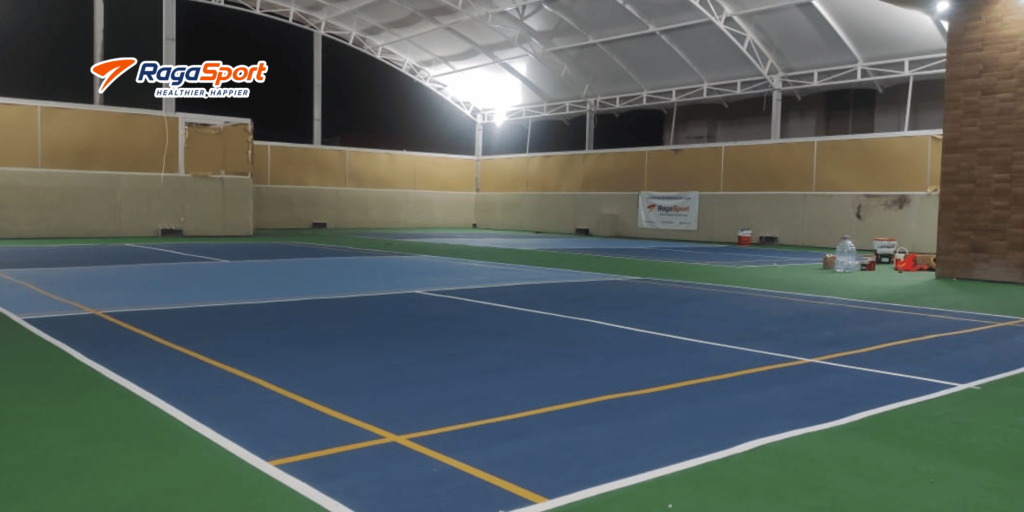
5. Installing Posts, Net, and Lighting System
At this stage, your court starts to look game-ready. Installing the posts and net requires attention to detail, as it directly affects gameplay. The net height should follow official standards, approximately 91.4 cm at the sidelines and 86.4 cm at the center. Proper net setup ensures consistent play and prevents disputes during matches.
Make sure the posts are securely anchored before attaching the net. Once installed, check for sagging or misalignment, as even small inconsistencies can disrupt the flow of the game.
Lighting is another crucial component, particularly for facilities that operate in the evening. A typical setup includes two 1,500-watt light poles, each standing around 5.5 to 6 meters high.
6. Painting the Lines and Marks
The final stage is applying precise court markings. Using advanced tools such as laser guides, it ensures all court lines are sharp, accurate, and fully compliant with official standards. Every measurement needs to be double-checked to eliminate discrepancies that could affect gameplay.
Tips to Maximize the Pickleball Court Project (Process Building)
To make sure your pickleball court project runs smoothly and delivers long-term value, a few practical decisions during construction can make a big difference:
- Orient the court north–south to reduce sun glare and shadow disruption during play.
- Use white court lines (5 cm wide) for clear visibility and regulation compliance.
- Allow paint to dry for 24 hours before installing the net setup system.
- Work with an experienced contractor to ensure proper standards, safety, and accurate execution.
If you’re ready to start your pickleball court project, make sure every detail is handled with precision. With more than 10 years of experience in sports facility construction, Ragasport.com is ready to support you in building a professional-grade pickleball court. Consult now!