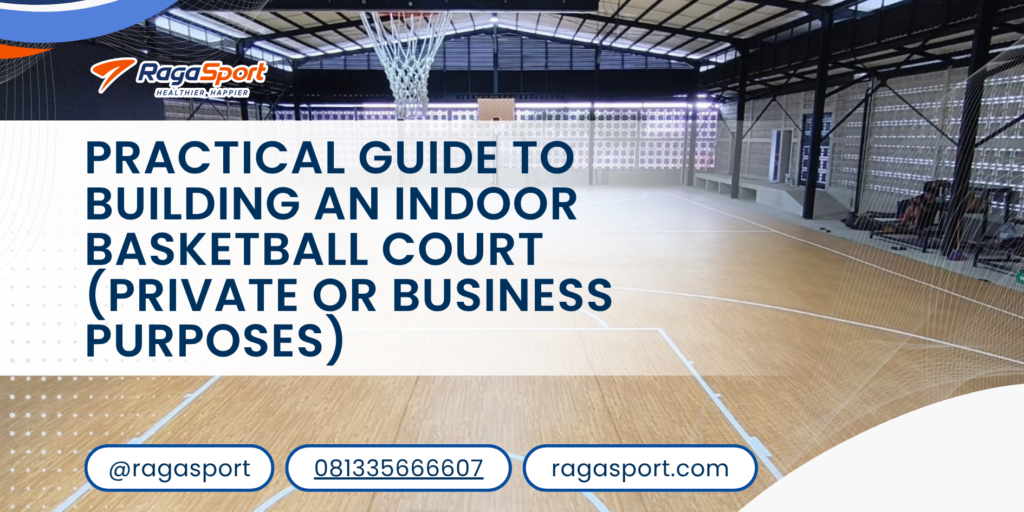
Building an indoor basketball court, whether for personal use or commercial purposes, requires careful planning, especially when it comes to design. A well-thought-out layout ensures player comfort and optimal space efficiency. You’ll also need to follow standard sizing guidelines to meet proper regulations. Curious how to get it right from the start? Let’s break it down step by step.
Table of Contents
9 Steps to Building Your Indoor Basketball Court
To build a proper, regulation-compliant, and long-lasting basketball court, here are the key steps you can follow:
1. Determine Your Court Size and Location
Start by selecting a flat and stable area. This helps reduce groundwork and keeps construction simpler and more cost-efficient. For reference, a full-size NBA or NCAA court measures 94 feet by 50 feet (28,7 m x 15,24 m). If you prefer a smaller setup, high school standards use 84 feet by 50 feet (25,6 m x 15,24 m).
For a half court, simply divide the length in half while keeping the width the same. This is a common setup for residential or compact indoor basketball court projects. Make sure the space you choose can comfortably fit your planned court layout without feeling cramped. Ceiling height also matters more than people expect, especially for shooting arcs and rebounds.
2. Ground Preparation
Before building anything, the site needs proper preparation. For an indoor basketball court, this step is still crucial, especially when the base floor area is uneven or contains leftover construction material.
The process starts with clearing the site from dust, debris, and any unwanted materials. After that, excavation and leveling are done to match the planned design elevation. This ensures the surface is ready for the next construction layers without structural issues later.
If there’s mud or soft soil, it must be removed carefully to prevent contamination and instability. On larger projects, equipment like excavators and hauling trucks is often used.
3. Mark Your Court Dimensions
Once the size is confirmed, move on to marking the area. Use stakes or markers at each corner to define the boundaries clearly. This helps you see the actual footprint before any permanent work begins. Double-check measurements carefully so your indoor basketball court stays aligned with standard proportions.
4. Foundation Work
Concrete is commonly used for the foundation of an indoor basketball court because it provides strong stability, durability, and a perfectly level surface that can withstand heavy use over time. Make sure conditions are dry before pouring, since moisture can weaken the curing process.
Once the concrete is poured, allow at least 36 hours of curing before any use. During this stage, basketball pole anchors should also be installed. Each pole must be embedded 30 – 60 cm into the ground and secured with concrete for maximum stability.
5. Surface Smoothing Process
Another key step is smoothing the surface to achieve a clean, even finish. For an indoor basketball court, this is typically done using specialized machines. The process usually starts at a steady speed to level out rough areas.
Once the surface becomes more even, the speed is increased to refine the finish more quickly. This step ensures the floor is smooth, consistent, and ready for the final flooring installation without imperfections.
6. Choose the Right Flooring Material
Flooring plays a huge role in performance, safety, and long-term durability. The right basketball flooring should match how the court will be used. Here are several reliable options:
Flexipave
- Designed to absorb impact and reduce stress on joints
- Strong durability for frequent use
- Low maintenance over time
Vinyl (choose the premium one with 4,5 mm thickness)
- Comfortable surface with good traction
- Clean and modern indoor appearance
- Ideal for multipurpose indoor basketball court setups
Interlock Tiles
- Quick installation and easy replacement
- Flexible for both indoor and semi-outdoor use
- Budget-friendly option without sacrificing functionality
Each option has different strengths, so your choice should depend on usage intensity and budget. For best results, these materials can be sourced from experienced contractors like Ragasport, ensuring your indoor basketball court is installed properly from the ground up.
Read more: Best Flooring for Basketball Courts: What to Choose
7. Hoop Setup
For a full-size indoor basketball court, install two hoops, one on each end of the court. If you are building a half court, one hoop is sufficient. Pay close attention to installation accuracy. The rim position should follow the official standard, set at 10 feet (3,05 meters) from the floor.
Don’t overlook the net setup either. It should hang properly and stay tidy, so it doesn’t interfere with visibility or distract players during the game.
8. Paint Court Lines and the 3-Point Area
Once the surface is ready, the next step is marking the lines. This stage defines how your indoor basketball court will actually be used during play.
Start with the boundary lines, typically around 5 to 7,6 cm wide, outlining the entire court. Then mark the center line across the middle, followed by the free-throw line positioned 4,57 m from the hoop.
The free-throw lane should be about 3,65 m wide, forming a clear rectangular key area. For the 3-point zone, draw a proper arc along with the center circle and key box to complete the court layout.
9. Install Scoreboard and Game Clock
To complete your indoor basketball court, don’t forget to install a scoreboard and game clock. The scoreboard is used to display the score during the game and should allow easy updates as points change.
Meanwhile, the game clock controls match duration, typically showing minutes and seconds with simple controls to adjust time when needed. Although installation is fairly straightforward, it should be done carefully to avoid damaging the equipment.
Ready to Build Your Indoor Basketball Court with the Right Team?
Building a basketball court isn’t just about putting together materials, it’s about getting every step right, from planning and foundation work to flooring and final setup. When each stage is executed properly, the result is a court that’s safe, durable, and comfortable for long-term use.
Instead of handling everything on your own, working with an experienced contractor can save time and minimize risk. So, if you’re planning to build or upgrade your indoor basketball court, Ragasport is ready to help. Consult your project today and get expert guidance tailored to your needs.