Introduction to Football Ground Construction
Constructing a football ground involves more than just laying grass. It’s a detailed process that requires planning, proper materials, skilled labor, and adherence to international or local sports standards. Whether it’s for a school, sports club, or commercial venue, building a durable and high-performance football field starts with understanding every phase of construction.
This guide breaks down the entire football ground construction process—from initial site prep to the final turf installation—to help project owners and contractors achieve quality results.
Table of Contents
1. Site Assessment and Planning
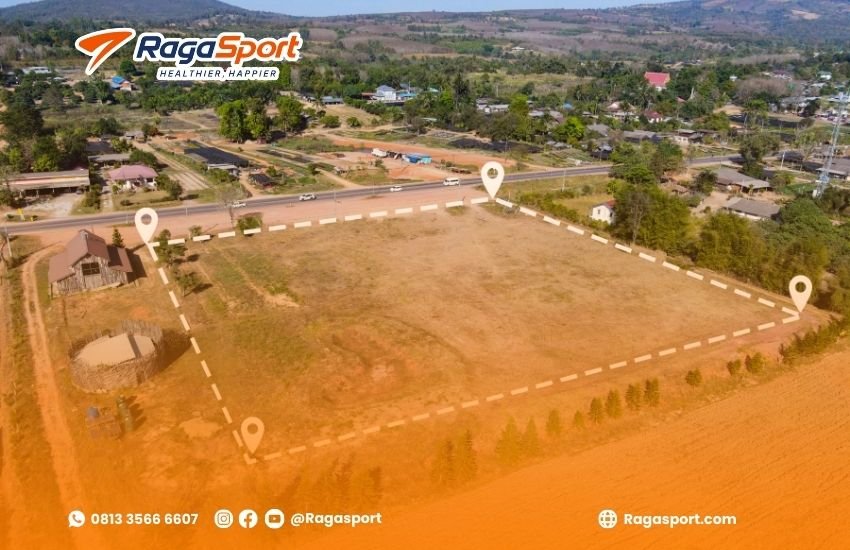
1.1 Location Selection
Choosing the right location is critical. It should be accessible, level or gradable, and large enough to accommodate not only the field but also drainage systems, sidelines, and possible spectator areas.
1.2 Soil Testing
Before any groundwork begins, soil analysis must be conducted to assess drainage capacity, compaction potential, and stability. Poor soil conditions require improvement through replacement or stabilization to ensure long-term durability.
1.3 Design and Permits
Once the site is confirmed, a detailed design is created, including field dimensions, orientation (preferably north-south), drainage layout, and amenities. Securing legal permits and meeting regulatory codes are also necessary before moving forward.
2. Groundwork and Site Preparation
2.1 Clearing and Grading
The site is cleared of vegetation, debris, and any obstacles. Excavation and grading ensure a level playing surface with proper slopes for water runoff.
2.2 Sub-Base Formation
A solid sub-base is the foundation of any football field. Layers of crushed stone or gravel are compacted to provide stability, support drainage, and resist deformation under heavy use.
2.3 Drainage System Installation
A professional drainage system is essential to avoid waterlogging and maintain playability. This typically includes perforated drainpipes installed in trenches and covered with aggregate, all sloped toward outflow points.
3. Selection of Playing Surface
3.1 Natural Grass vs Synthetic Turf
Depending on budget, usage, and maintenance resources, a decision must be made between natural grass and artificial turf. Natural grass offers a traditional feel but requires extensive maintenance. Synthetic turf provides durability, lower maintenance, and year-round usability.
3.2 Turf Base Layer
Before installing the final playing surface, a compacted sand or rubber layer is applied over the sub-base to provide cushioning and support.
3.3 Irrigation and Root Zone (for Natural Grass)
If natural grass is chosen, installing an irrigation system and a root zone with a mix of sand, compost, and topsoil ensures healthy turf growth and longevity.
4. Turf Installation
4.1 Artificial Turf Installation
Synthetic turf comes in rolls that are unrolled and stitched together on-site. Infill materials like silica sand and rubber granules are spread over the surface to provide traction, stability, and shock absorption.
4.2 Natural Grass Laying
For natural grass, either seed or sod is used. Sod offers immediate results but is costlier, while seeding is budget-friendly but requires more time and care to establish.
4.3 Turf Maintenance Post-Installation
After laying the turf, whether artificial or natural, initial maintenance is crucial. For natural turf, this involves watering, mowing, and fertilization. For artificial fields, brushing and infill leveling are required to maintain performance.
5. Marking and Accessories
5.1 Field Markings
Once the surface is ready, lines are marked according to standard dimensions. Permanent paints are used for natural fields, while sewn-in or taped lines are used for synthetic turf.
5.2 Goals and Safety Padding
Goalposts are installed at each end, anchored securely. Safety padding may be added to goalposts and sideline barriers to protect players.
5.3 Fencing and Lighting (Optional)
Fencing helps prevent unauthorized access, while lighting systems extend field usage into the evening. These are common in professional and multi-use facilities.
6. Final Inspection and Handover
Before declaring the project complete, a thorough inspection ensures all construction elements meet specifications and safety standards. Drainage is tested, field levels are checked, and turf conditions are reviewed. Only after final approval should the field be handed over for use.
7. Common Mistakes to Avoid
- Ignoring Drainage Needs: Poor drainage leads to waterlogging and field damage. Always invest in a proper system.
- Using Low-Quality Turf: Whether natural or synthetic, the quality of turf directly impacts player safety and performance.
- Lack of Professional Supervision: Inadequate oversight can result in uneven grading, poor turf installation, and safety hazards.
- Skipping Maintenance Planning: Even artificial turf requires maintenance. Planning ahead prevents future performance issues.
8. Estimated Timeline and Cost Considerations
The entire construction process typically spans 2–4 months depending on weather, field size, and material availability. Costs vary widely based on surface type, location, and customization, but budgeting should always include design, groundwork, turf, and maintenance equipment.
For instance:
- Natural grass fields: more affordable to install but expensive to maintain.
- Synthetic turf fields: higher upfront cost but lower lifetime maintenance.
9. Partnering with Experts
Football ground construction is not a DIY project. It requires collaboration with experienced professionals who understand both engineering principles and sports requirements. From grading accuracy to turf selection and compliance with FIFA or local standards, the expertise of a trusted contractor ensures the field is safe, durable, and built to perform.

Ready to Build the Perfect Football Field?
Let Raga Sport turn your vision into reality with expert construction, top-quality materials, and a field that meets every standard.
👉 Explore our projects at ragasport.com
📲 Chat with our team now via WhatsApp: Click Here